


Breadcrumb
Create Your Own class schedule using DARS Schedules
If you prefer not to use the "auto-generate" feature, you can create your own schedule.
For example, if you want to explore full classes, you will want to create your own schedule.
(Auto-generate will not generate schedules for full classes at this time.)
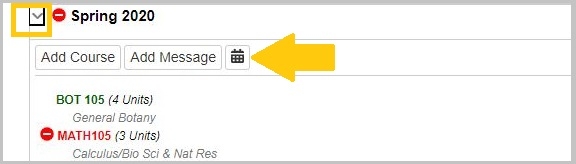
Step 1 - Click on the calendar icon to push the classes you plan on taking into DARS Schedules . Hint: The semester needs to be open to see the calendar icon. Click the toggle arrow to open.
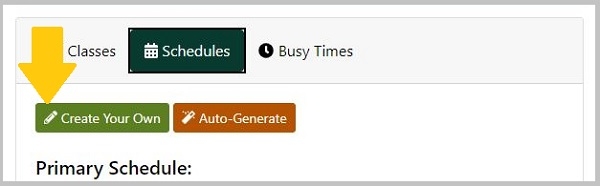
Step 2 - Click the "Create Your Own" button. (Optional: If you did not push your classes from your DARS plan, you can click on "Classes" to add additional classes now.)

Step 3 - Select a class from the drop-down menu options. (The list is populated when you push your classes from your DARS plan into Schedules.)
Step 4 - After you make a class selection, the table below populates with different available sections of the selected course. Click on the plus sign "+" to add an available course section to your schedule or on "full" to use wait list. Click on the more information "i" to view the full section details.
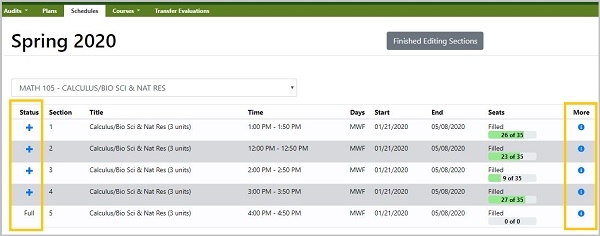
Sections columns include:
- Class: color coded course number
- Section: section number of the course
- Title: course title
- Time: start and end times of the course section
- Day: day/days of the week the course meets (TH=Tuesdays/Thursdays; H=Thursdays)
- More information: full section details, including wait list information
- Delete: click the "X" to remove this section
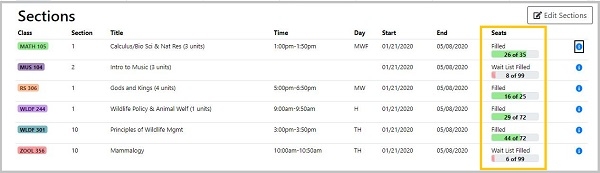
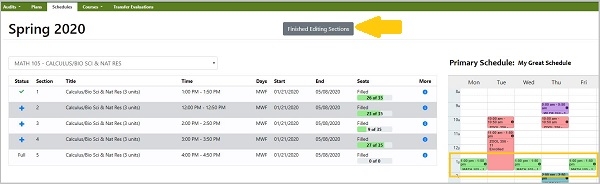
Step 5 - Each added section is placed on your schedule (displayed on calendar and in a list below the calendar).
Step 6 - Click the "Finished Editing Section" button to return to the schedules page.
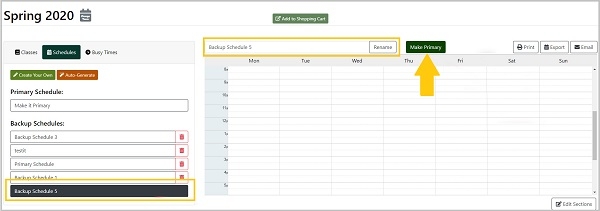
Step 7 - Your newly created schedule defaults to a "backup schedule" unless you do not have any other schedules. You can rename your schedule or leave the default name, but it must be your primary schedule to add it to your shopping cart. If needed, click on the "Make Primary" button.
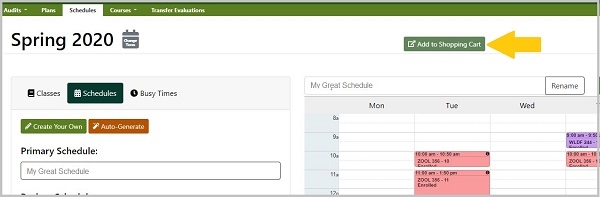
Step 8 - Click the "Add to Shopping Cart" button to push your schedule from DARS Schedules into your Student Center Shopping Cart.
After you pushed classes into your Student Center Shopping Cart and/or registered for other classes you can update your DARS Schedules with these classes by selecting the Sync w/ Student Cntr button
You will be redirected to your Student Center Shopping Cart.
Important: This is the last step in DARS Schedules, but you are not registered for classes. See Enroll in classes for the next steps in the process.